Metallic bits can change an easy cookie or cake into stuff that really gets folks to pause and look. A slim gold edge, a silver writing, some small stars on chocolate. And all at once it seems “shop grade”. The hard bit is usually not the thought. But the stuff you use. You grab a metallic pen. You try to draw on fondant. And you end up with marks, bumps or a flat gray streak that doesn’t match the photos.
A fine spot to begin is to know what sort of pen you hold. And which base it favors. Many folks who bake at home learn this through tough spots. Like on a bunch of cookies for a birthday. This guide shows you how to use edible metallic pens on fondant, royal icing and chocolate. So you can jump past some try-and-miss steps. And reach that neat, bright end you seek.
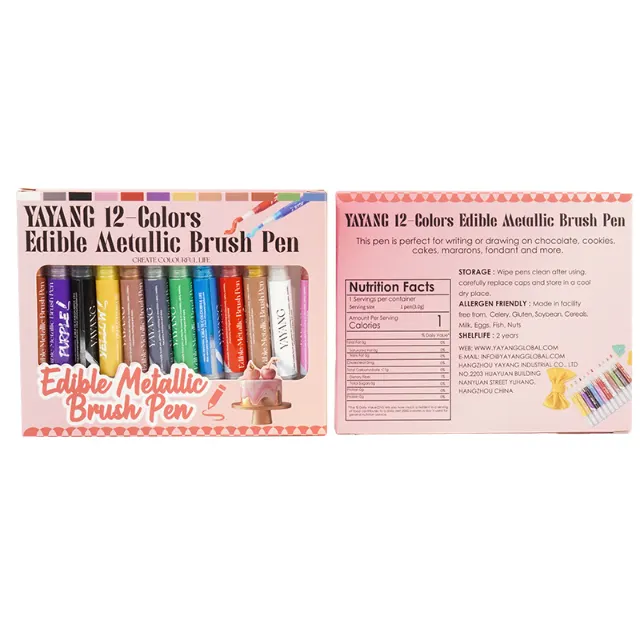
What Are Edible Metallic Pens?
Edible metallic pens are safe-for-food markers packed with shiny ink instead of plain gel hue. Inside the tube is a mix made with water-type or oil-type holders, eat-safe colors and mica-kind glossy bits that bring the glow.
The ink is fully okay to eat. It has no taste. And it’s not harmful. So it shifts how your plan appears, not how it tastes. Many items in this group are marked as vegan and gluten free too. This aids when you fix up for visitors with varied food rules. Next to loose glow dust or wet paint, pens offer more hold. You push the end on the base and mark right away. Instead of blending powder with drink or water. And wishing the brush acts right.
How Do Metallic Pens Work on Different Surfaces?
Not each base grabs shiny ink the same. Fondant, royal icing and chocolate all act in their own way to push, wet and fat. So you tweak your ways a bit for each.
Fondant
Fondant is often the kindest choice. You grab top outcomes when the fondant is flat, hard and dry to touch. If it stays soft or sticky, the pen end can rip the top or pull small sugar bits along the mark. Let the fondant wait a bit after you cover the cake. Then check the pen on a tiny extra bit before you shift to the chief plan.
Royal Icing
Royal icing offers a sharp, even space for cookies. But only when it’s all dry. Fill the cookie. Let it dry for hours or through the night. Then mark. If you write too quick, the ink drops in, spreads at the sides or makes small holes. A dry top lets the shiny ink rest on it and seem brighter.
Chocolate
Chocolate is choosy. Shiny ink does not favor damp or oily tops. Coated chocolate must be at room temp with a dry, soft-shine end. If you pull chocolate right from the cold box and begin to mark, wet drops form on the top. And the pen jumps or smears. Let it rest until the glow from wet fades before you lift the pen.
What Tools Do You Need Before You Start?
You do not need a full room of tools. But a tiny setup aids you to try safe on each base.
Edible Pens and Shade Choices
Begin with a pair of edible cake decorating pens in basic shiny tones like gold and silver. If you deal with many wedding cakes, gold edges and mild silver bits already handle lots of asks. Thinner ends manage small writing and shapes. While a bit wider ends fit edges and full forms.
Surface Prep Tools
A flatter base makes the pen seem nicer. No matter how fine the ink is. A small wipe tool, bent spatula and spin stand help you make fondant and royal icing as even as you can. Keep paper wipes and cotton sticks close to fix small slips instead of tossing a full cookie.
Handy Extras
Easy patterns, straight sticks and round leads are helpful when you want even edges or repeat shapes. Many fixers also hold a small fondant-top card near as a check board for fresh pens and hues.
How Do You Use Metallic Pens Step by Step?
The main flow is alike for each start: ready the base, check the pen, mark soft, then let it dry. The bits shift a little with fondant, royal icing and chocolate.
On Fondant
Cover the cake or flat with fondant and even it good. Let it rest until the top is firm. Shake the pen if you must. Then try a few marks on an extra fondant bit. Begin with easy shapes, curls or spots. Work with mild push and short marks so you do not dig into the sugar. If you seek a deeper glow, add a second slim coat after the first dries.
On Royal Icing Fill
your cookies and wait until the icing sets full. The top should feel dry and not give under soft push. Use the pen for edges, small signs or letters. Rest your marking hand on the table or a pile of wipes to hold lines steady. Let the cookies dry once more before you stack or bag them. Or else the shiny ink can shift to wraps.
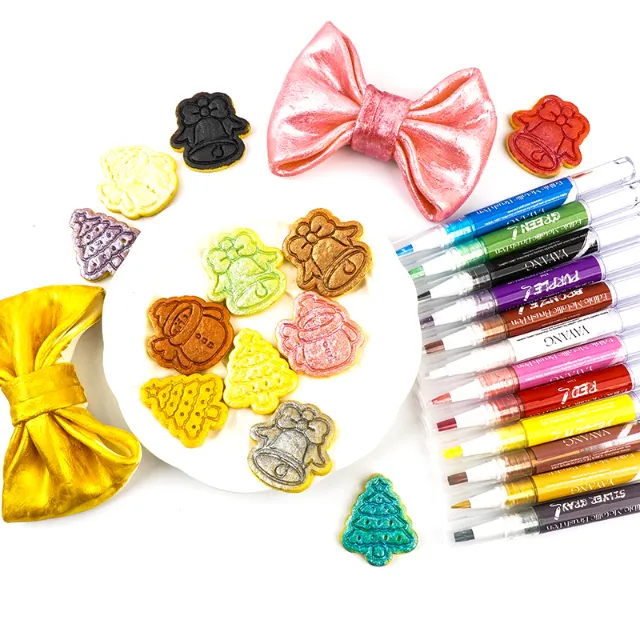
On Chocolate
Pick a flat chocolate bar, sweet or flat and bring it to room temp. Skip touching the spot you aim to fix up, as finger marks leave fat that fights ink. Use the pen to add bright spots, small spots or easy patterns instead of heavy color blocks. Hold the plans small and fine. Shiny adds often seem nicer than full cover on chocolate.
What Mistakes Should You Avoid With Metallic Pens?
Even a fine pen can give bad outcomes if the base or time is wrong. A few usual troubles show up so much that they are worth spotting soon.
Streaky or Patchy Lines
Marks show when the base is too wet, the pen is too dry or the mark is too strong. You can fix this in most spots by letting the start dry longer. And using mild push with many passes instead of one thick mark. On fondant, pushing too firm can bump the sugar and make the shiny look uneven.
Smudging and Fingerprints
Shiny ink needs a bit of time to set. If you touch the plan right away, shift cookies while the top is still damp, or stack them too quick, you get smears or faint prints. Give the fixed pieces their own holder and some air time before you wrap.
Dull or Faded Color
Hue seems flat when the base is oily or when you have only one very slim coat. Wipe off extra grease, mainly on chocolate, and add a second mild coat once the first dries. If the plan is kept in a very wet spot, even the top ink can lose some glow over time.
Dry or Damaged Tips
Leaving the top off is the quickest way to wreck a pen. The end can also wear if you rub hard on rough tops. Keep tops on between uses and skip strong rub moves. If the end seems a bit dry, a few mild marks on extra fondant can bring the flow back.
Why Is YAYANG a Reliable Choice for Metallic Pens?
When you get tools that go right on food, you care about both work and safety. YAYANG has stuck to effect pigments since 1999. It supplies pearl and metallic pigments for food, face stuff and work use. That skill in color mix sits behind its edible metallic items. This includes pens made with food-level parts and mica-kind glossy pigments. The firm sets itself as a full-stop source. With tight quality rules under ISO9001 and group checks by a set QC team. For bakers and sweet makers who need a vegan gluten free edible metallic pen, that mix of lab work and eye catch is key. The ink is fully safe and edible. It has no taste. And it’s not harmful. So you can serve visitors with varied food rules without shifting your fix style. In brief, you grab glow and calm mind in the same pen.
FAQ
Q1: Can you use edible metallic pens on buttercream?
A: Yes, but the buttercream needs to be smooth and firm, almost like a crusted surface. On very soft or whipped buttercream, the tip sinks in and the lines look broken.
Q2: How long should you wait before drawing on royal icing?
A: For most cookies, letting them sit at least overnight is safest. The top should feel dry and hard. If there is any tackiness, the metallic ink can bleed or sink.
Q3: Are metallic pens safe for kids to use on cookies?
A: When you choose edible metallic pens that are food-grade, vegan and gluten-free, kids can use them with adult supervision. The ink is made to be eaten, not just to look pretty.
Q4: What is the best way to fix a small mistake with a metallic pen?
A: On fondant and royal icing, you can gently dab with a clean, slightly damp cotton swab, then redraw once the spot is dry. On chocolate, it is often better to turn a mistake into a bigger dot or star than to rub it away.
Q5: How should you store edible metallic pens between projects?
A: Keep them capped, upright or flat, in a cool and dry place away from direct light. Avoid storing them near heat sources or in the fridge, as big temperature swings can affect the ink flow over time.