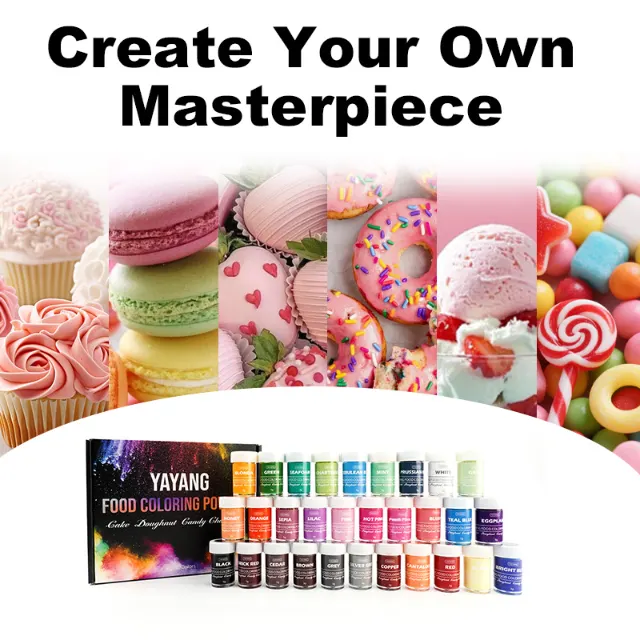
Hey folks, you may think making marble chocolate might seem tricky at first. But it’s easier than you think. Once you get how fats, chocolate, and color mix, you can make neat swirl designs. They look pro on bars, barks, truffles, or drip cakes. The main trick is easy: pick oil based food coloring for chocolate rather than normal water-based dyes. And watch your heat and stirring. After that, it’s just practice and some waiting.
Why Oil-Based Food Coloring Works Best for Chocolate
If you ever dropped liquid food color into melted chocolate, you saw it get thick and lumpy fast. That’s why this matters. Chocolate is full of fat, based on cocoa butter. So it hates extra water. Oil-based food coloring is made to mix into fats like chocolate, candy melts, and cocoa butter. It gives even color without lumps or seizing.
How Fat and Water Behave in Chocolate
Chocolate loves fat, not water. Even a tiny bit of water pulls sugar bits together. This makes the mix thick, dull, and hard to swirl. But oil-friendly pigment mixes into cocoa butter. So the chocolate stays smooth and shiny. That’s what you need for clear marble lines.
Benefits of Oil-Based Colors for Swirl Effects
With oil-based colors, you can work at usual melting heats. You keep the chocolate flowing. And you still get bright color. A small drop gives clear streaks. So you don’t add tons of dye. This lets you control the look, from light soft lines to strong bold swirls. And it doesn’t change the feel or taste.
What Do You Need for Marble Chocolate
Before you begin, set up your spot well. Swirl work needs quick timing. Once the chocolate cools, the top sets. And the pattern stops moving.
Core Ingredients
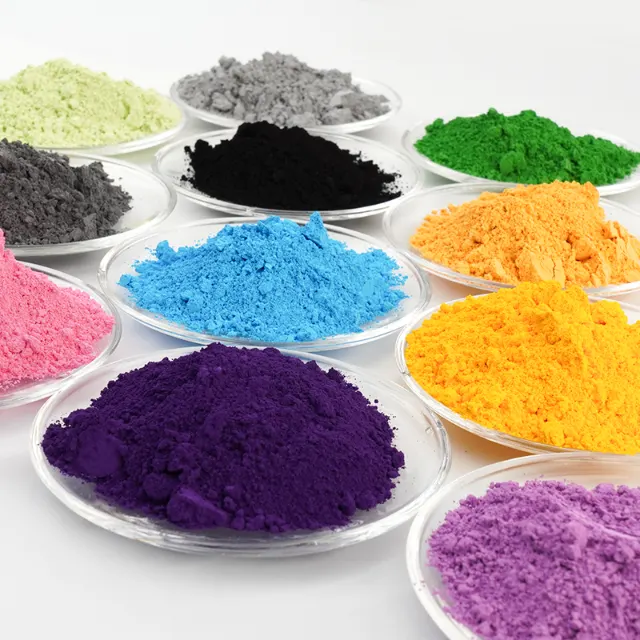
You will need good white chocolate or white candy melts. Light bases show marble patterns best. For color, pick strong oil-based food coloring, as liquid drops or powder mixed in plain oil. Keep extra plain melted chocolate ready. You can fix thickness if it gets stiff.
Helpful Tools
Basic tools work fine: bowls that handle heat, a rubber spatula, a skewer or toothpick, and simple molds or a lined tray. A thermometer keeps you in the safe spot, around 30–32°C for white chocolate. You don’t need full tempering for fun bark. But steady heat gives better snap and shine.
How to Create Marble or Swirl Effects Step by Step
The steps are not hard. But each one shapes the final design. See it as a quick routine: melt, tint, swirl, set.
Step 1 Melt and Temper the Chocolate
Melt the chocolate softly in a water bath or microwave in short times, stirring a lot. Aim for smooth flow with no lumps. If you temper for bars or coated items, follow your normal steps. Keep a small batch in the right range while you color and swirl.
Step 2 Add Color the Smart Way
Take a small part of melted chocolate and make it darker. Add a bit of oil based food coloring for chocolate at a time. Stir it in. Watch how strong it gets. This “strong” part will make sharp swirls when you pour it back into the main bowl or on the base layer. If you’re new to how to color chocolate, start with two colors only. Too many shades can turn into a messy blend.
Step 3 Swirl for Marble Patterns
Pour a layer of plain white chocolate into the mold or tray. Fast, drizzle the tinted chocolate over the top in lines or dots. Drag a skewer through the top in soft curves, not quick zigzags. So the streaks bend and cross but don’t mix into one color. The first time, stop sooner than you think. Most folks over-swirl.
Step 4 Set and Unmold
Tap the mold lightly to let out air bubbles. Let the chocolate set at cool room temp. Then put it in the fridge for a short bit if needed. Once hard, pop out the bars or break the bark. The design always looks a little different than in the mold. And that’s part of the fun.
How to Fix Common Problems in Swirl Chocolate
Even with good skills, small troubles pop up. Most have easy fixes you can use next time.
When Chocolate Turns Thick or Grainy
If the chocolate seizes, you likely used water-based color or got the bowl too hot. For a light case, add a bit of melted cocoa butter. Stir until it loosens. For bad lumps, it’s better to save that batch for baking. And start fresh with oil-based pigments only.
When the Pattern Looks Muddy
Muddy designs often come from too much stirring on top or too many colors. Keep your swirl tool shallow. Touch just the top few millimeters. Stick to one base and one or two extra colors. Strong difference, like dark teal on white or basic black and white, shows clear even with easy lines.
When Color Is Too Pale
Oil-based pigments are strong. So you can add a little more if tones look weak while still liquid. Work in drops. Stir and test a stripe on the bowl side. Brighter accent color on just 20–30% of the top already makes the whole bar look lively.
Creative Ideas for Marble Chocolate Decorations
Once you get comfy with basic swirls, you can use the same way for lots of things. From simple home snacks to show pieces for a bakery.
Marble Chocolate Bark
Spread a thin sheet of white chocolate on paper. Add colored streaks. Swirl them. Then sprinkle nuts, dried fruit, or crisp bits. Break into odd shapes after setting. The design grabs eyes before the taste.
Drips, Shards, and Garnishes
Tint small batches for drip cakes, where the marble flows down the side. Or pour marbled sheets and cut into shapes for cupcake tops. Even a few bits of colored chocolate on a dessert plate show extra effort and skill.
Why YAYANG Matters for Colored Chocolate Work
YAYANG has focused on effect pigments since 1999. They supply food grade, cosmetic grade, and industrial grade stuff for clients around the world. For food makers, that background counts. Color in chocolate and sweets is not just about a nice shade. It needs steady pigments, even particle size, and pure mixes that work in fat-based setups like cocoa butter and compound coatings. YAYANG makes pigment and food coloring lines with these in mind. This includes special items for chocolate and bakery use. As a supplier, YAYANG gives custom color matching, easy packaging, and OEM / ODM help. So you can make a set that fits your needs instead of changing your recipes for basic options. Long-term work with customers in Europe, North America, the Middle East, Southeast Asia, and South America shows the pigment range does well under different rules and ways of making. If you plan new marble chocolate bars, holiday sets, or catchy coated items, teaming with a pro like YAYANG gives you trusty oil-based food coloring that acts the same in chocolate, every time.
FAQ
Q1: Can regular liquid food coloring work for marble chocolate?
A: Nah, standard water-based liquid colors usually make chocolate seize and get thick. So they’re not great for swirl stuff. Oil-compatible colors mix into cocoa butter and keep things smooth, which means nicer lines and a brighter finish.
Q2: Do you have to temper chocolate for swirl effects?
A: For fun bark or home treats, you can skip full tempering and just melt it gently. But for bars, coated bits, or stuff that needs good crunch and shine on the shelf, tempering helps. The swirl steps don’t change though.
Q3: How many colors look best in one marble design?
A: Two or three colors often look nicer than a bunch. One base plus one extra already makes good contrast. If you want more shades, keep them similar so they don’t mix into a boring brown.
Q4: Can you use marble chocolate on cakes and desserts?
A: Yeah, you can pour marbled chocolate as a drip on iced cakes, make shards for cupcake toppers, or create thin panels for fancy desserts. Just store the pieces in a cool, dry spot so they stay shiny until you serve.
Q5: How long can colored marble chocolate be stored?
A: If you keep it in a tight container in a cool, dark place, colored chocolate holds its look and taste for weeks. Big heat or bright light can fade colors or make the cocoa butter bloom. So a steady spot matters more than anything special.